炼丹实战(3):手写数字识别

前言

既然已经踏上了漫漫的炼丹之路,那么接下来的修行就必不可少。上一篇用一些实例来演示了 TensorFlow 是如何工作的,但那只是简单的回归而已,不能算是真正的炼丹。这一篇,我们就聊一聊几乎每个人都会用来作为 TensorFlow 实践的第一个项目的——手写数字识别。

MNIST 数据集

既然是训练一个能够识别手写数字的模型,那么手写数字的数据就必不可少。MNIST 数据集是一个几乎被每个炼丹师都用过的数据集了,每一个 TensorFlow 的教程一个都会对它下手。下面来介绍一下 MNIST 数据集。

MNIST 数据集在 http://yann.lecun.com/exdb/mnist/ 可以下载,来自美国国家标准与技术研究所, National Institute of Standards and Technology (NIST)。训练集包含了 250 个不同人的手写数字,其中 50% 是高中学生,50% 来自人口普查局的工作人员。测试集的数据是同样的比例。

数据分为4个文件,分别是「训练集图像」、「训练集标签」、「测试集图像」、「测试集标签」

  • train-images-idx3-ubyte.gz: training set images (9912422 bytes)

  • train-labels-idx1-ubyte.gz: training set labels (28881 bytes)

  • t10k-images-idx3-ubyte.gz: test set images (1648877 bytes)

  • t10k-labels-idx1-ubyte.gz: test set labels (4542 bytes)

训练集(mnist.train)有 55000 行,验证集(mnist.validation)有 5000 行,测试集(mnist.test)有 10000 行。训练集的每一张图片(mnist.train.images)有 28 * 28 = 784 个像素点,即整个训练集可以转化为 [55000, 784] 的矩阵。

通过以下的简单操作就可以看到图片了:

1
2
3
4
5
img = np.array(mnist.train.images[1])
img = img.reshape(28, 28)
plt.figure()
plt.imshow(img, cmap='gray')
plt.show()


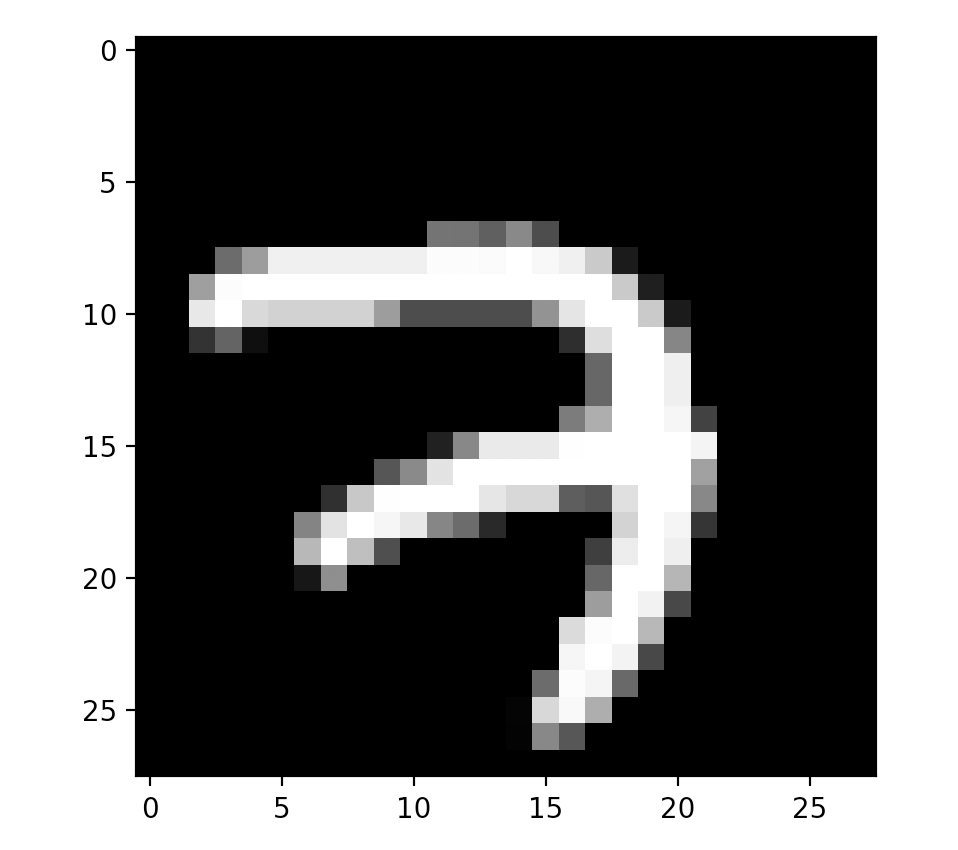
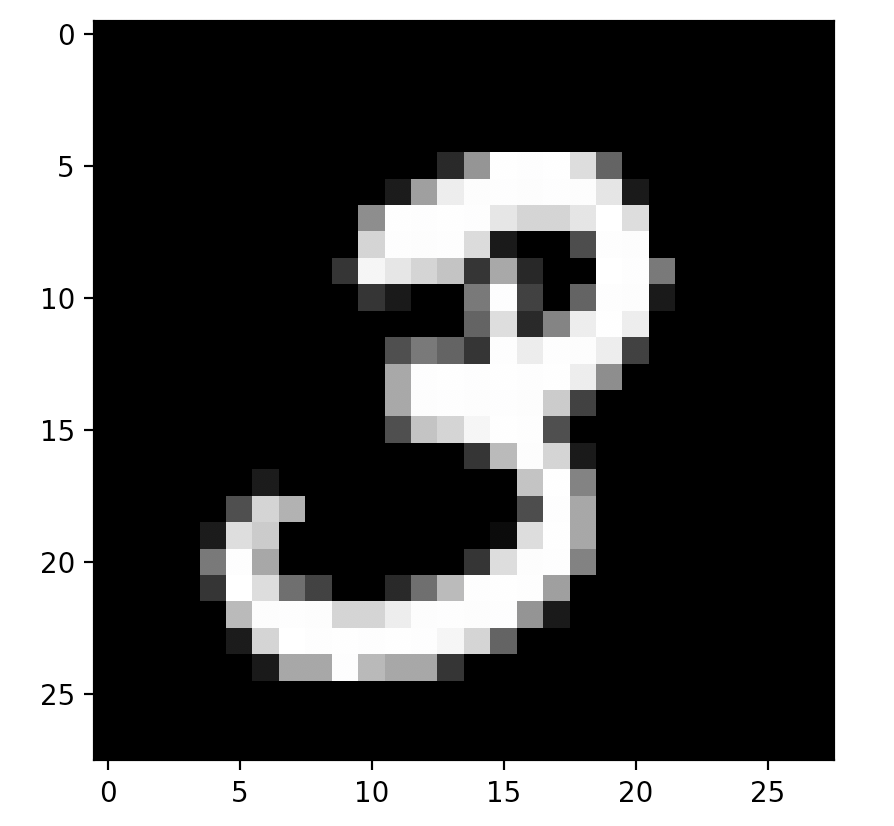
上图就是训练集的前两张图片。图片长什么样子其实根本不重要啦,毕竟训练的时候不过都是些矩阵而已,最终也可以根据标签来判断准确率,没必要把图片都展示出来。

坯子

想得到一个能够识别手写数字的模型,我们先来一个没有中间层的吧!输入层 784 个节点之间连接到输出层的 10 个节点上(输出层的 10 个节点对应 10 个数字,选择数值最大的节点作为结果),这样的模型应该算得上是简单暴力了吧!当然,这样做的准确率一定是不高的,不过我们可以之后慢慢调整嘛。炼丹怎么会一次成功呢?

1
2
3
4
5
6
7
8
9
10
11
12
13
14
15
16
17
18
19
20
21
22
23
24
25
26
27
28
29
30
31
import tensorflow as tf
import numpy as np
from tensorflow.examples.tutorials.mnist import input_data

mnist = input_data.read_data_sets("MNIST_data", one_hot=True)
batch_size = 100
n_batch = mnist.train.num_examples

x = tf.placeholder(tf.float32, [None, 784])
y = tf.placeholder(tf.float32, [None, 10])

W = tf.Variable(tf.zeros([784, 10]))
b = tf.Variable(tf.zeros([10]))

prediction = tf.nn.softmax(tf.matmul(x, W) + b)
loss = tf.reduce_mean(tf.square(y - prediction))
train_step = tf.train.GradientDescentOptimizer(0.2).minimize(loss)

correct_prediction = tf.equal(tf.argmax(y, 1), tf.argmax(prediction, 1))
accuracy = tf.reduce_mean(tf.cast(correct_prediction, tf.float32))

with tf.Session() as sess:
sess.run(tf.global_variables_initializer())
for epoch in range(21):
for batch in range(n_batch):
batch_xs, batch_ys = mnist.train.next_batch(batch_size)
sess.run(train_step, feed_dict={x: batch_xs, y: batch_ys})

test_acc = sess.run(accuracy, feed_dict={x: mnist.test.images, y: mnist.test.labels})
train_acc = sess.run(accuracy, feed_dict={x: mnist.train.images, y: mnist.train.labels})
print "Iter " + str(epoch) + " , Training Accuracy " + str(train_acc) + " , Testing Accuracy " + str(test_acc)

程序解释

  • MNIST 数据集可以由 tensorflow.examples 下载,其中 “MNIST_data” 是放数据的目录名(没有该目录会创建目录),one_hot 指标签采用 [0,0,1,0,…] 这样的形式,结果是几,第几位的数字就是 1 ,其他 9 位都是 0 。
  • batch_size 表示数据一批一批的传入,每一批 100 组数据
  • softmax 函数可以将输出映射为 0~1 的值,正好对应概率,同时,该函数会隐藏比较小的数而放大比较大的数。更多关于 softmax 函数的介绍可以参考维基百科

程序结果

1
2
3
4
5
6
7
8
9
10
11
12
13
14
15
16
17
18
19
20
21
Iter 0 , Training Accuracy 0.92636365 , Testing Accuracy 0.9262
Iter 1 , Training Accuracy 0.9321455 , Testing Accuracy 0.9288
Iter 2 , Training Accuracy 0.93523633 , Testing Accuracy 0.9299
Iter 3 , Training Accuracy 0.93756366 , Testing Accuracy 0.9307
Iter 4 , Training Accuracy 0.93874544 , Testing Accuracy 0.931
Iter 5 , Training Accuracy 0.93994546 , Testing Accuracy 0.9313
Iter 6 , Training Accuracy 0.9410909 , Testing Accuracy 0.9314
Iter 7 , Training Accuracy 0.94207275 , Testing Accuracy 0.9311
Iter 8 , Training Accuracy 0.9428727 , Testing Accuracy 0.9307
Iter 9 , Training Accuracy 0.94354546 , Testing Accuracy 0.9308
Iter 10 , Training Accuracy 0.9443273 , Testing Accuracy 0.9303
Iter 11 , Training Accuracy 0.9447273 , Testing Accuracy 0.9296
Iter 12 , Training Accuracy 0.9454 , Testing Accuracy 0.9298
Iter 13 , Training Accuracy 0.9456364 , Testing Accuracy 0.9301
Iter 14 , Training Accuracy 0.94603634 , Testing Accuracy 0.93
Iter 15 , Training Accuracy 0.94632727 , Testing Accuracy 0.9295
Iter 16 , Training Accuracy 0.94698185 , Testing Accuracy 0.9298
Iter 17 , Training Accuracy 0.94734544 , Testing Accuracy 0.9311
Iter 18 , Training Accuracy 0.9475273 , Testing Accuracy 0.9311
Iter 19 , Training Accuracy 0.9479091 , Testing Accuracy 0.9315
Iter 20 , Training Accuracy 0.9483455 , Testing Accuracy 0.9315

上面是程序运行的结果,可以看到 93.15% 的测试集都识别成功了。但是这显然是不够的,我们还可以优化程序,让模型的正确率更高。

那么下一步,让我们修改模型,让预测的准确率(测试集)提升到 95% 以上吧,漫漫炼丹路就要开始咯~~

未完待续

0%